
Handbag product photography from a hallway snapshot
Totes, crossbody bags and backpacks, on white and worn.


Three bags, seven shots
Tote on white 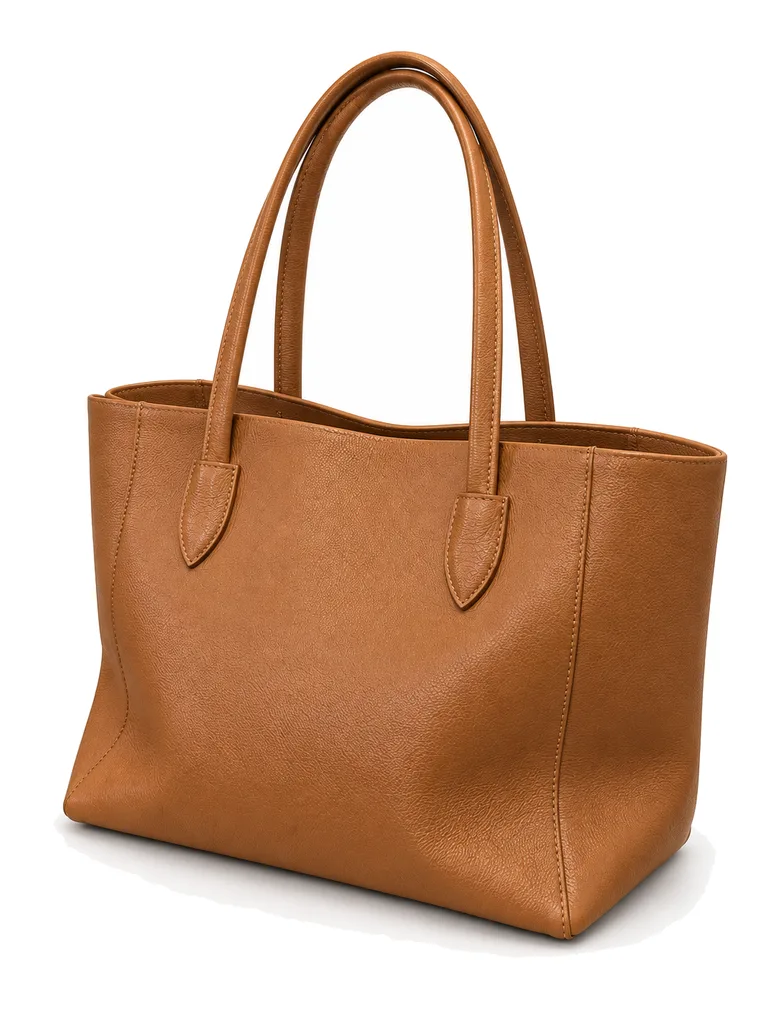
Three-quarter view 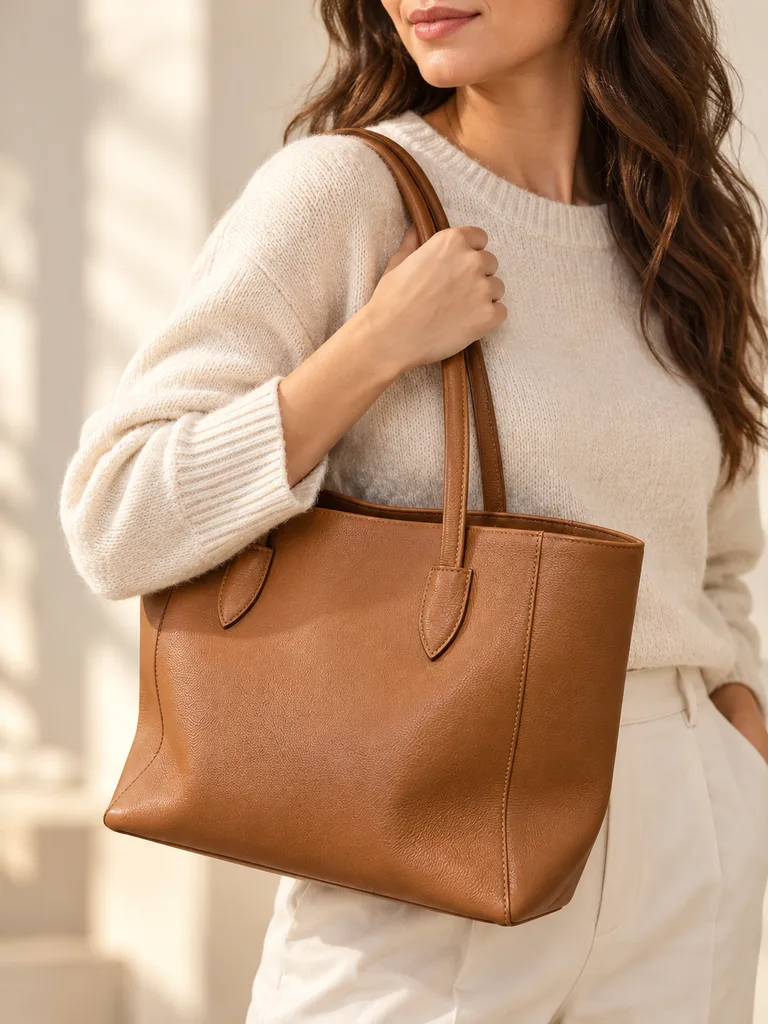
On the shoulder Crossbody in sunlight 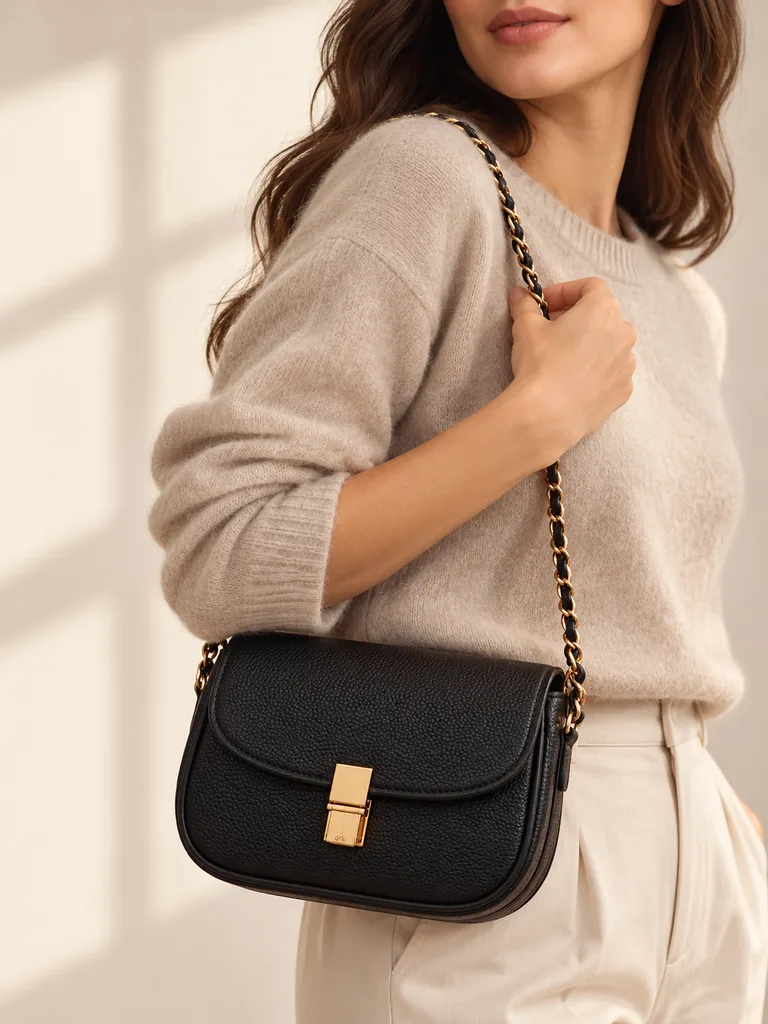
Worn crossbody Backpack on white 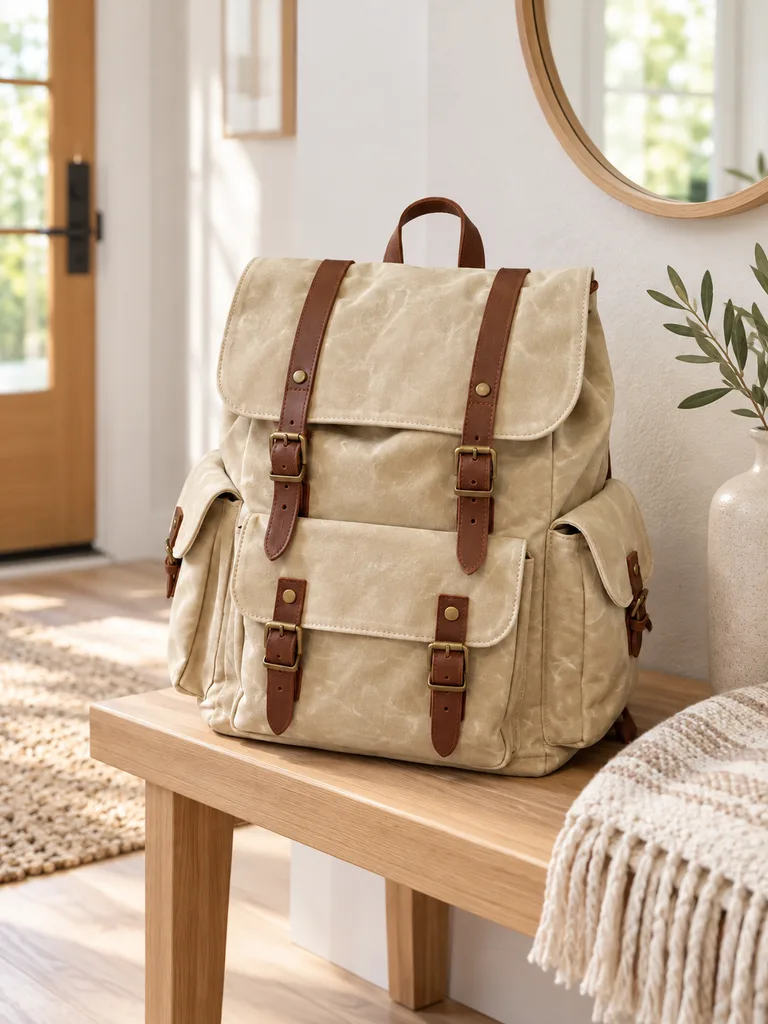
By the door


About these shots
- Tote on white
- The slump is gone; the bag stands with its handles up.
- Three-quarter view
- Shows the depth and the side gusset.
- On the shoulder
- Size against a body, the question every bag listing gets.
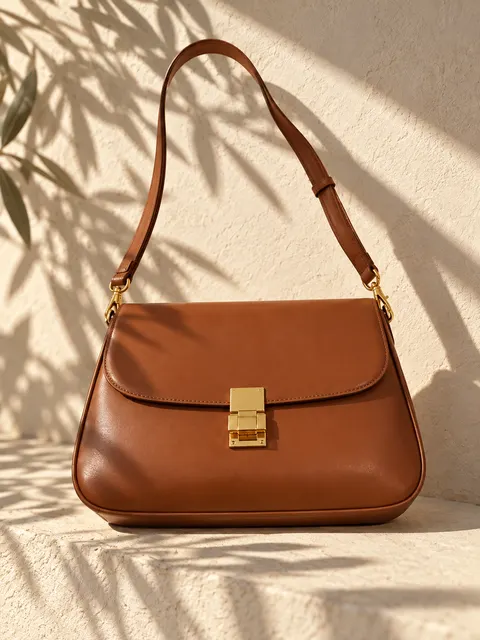
- Crossbody in sunlight
- A first photo with light and shadow.
- Worn crossbody
- Where the strap sits and how long it hangs.
- Backpack on white
- Straps and buckles in place, canvas texture kept.
- By the door
- Daily-use context without a model.
The before photos on this page are generated stand-ins for a seller’s phone snapshot. Each result is the named Sweepshot scene applied to that snapshot, with no retouching afterwards.
The angles a bag listing needs
- FrontOn white, first
- 3/4Depth and gusset
- WornSize on a body
- InsideYour own photo
Shot by shot
| Shot | Answers | How |
|---|---|---|
| Front on white | What it looks like | White background main image |
| Three-quarter | How deep it is | Three-quarter angle |
| On the shoulder or in hand | How big it is and where the strap sits | Accessory on a model, shoulder |
| Back and base | Pockets, feet, wear on the corners | Your own photo, then a clean frame |
| Inside | Pockets, lining, what fits | Your own photo of the open bag |
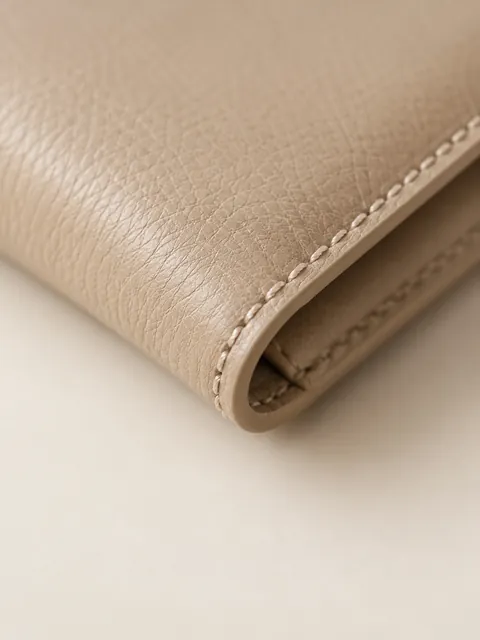
| Hardware close-up | Zips, clasps, chain, stitching | Texture close-up or Macro |
| Lifestyle | Who carries it and where | Sun and shadows, Room setting |
Check every bag shot
01
Hardware
Clasp, zip pulls, rings and chain links match in count, shape and metal color.
02
Strap length
A worn shot shows where the strap really falls. Give the drop length in the listing.
03
Stitching and edges
Contrast stitching, painted edges and piping stay where they are.
04
Leather grain
Pebbled stays pebbled and smooth stays smooth; the color matches daylight.
05
Logo and lining
A logo plate or a printed lining is compared with the real bag, letter by letter.

Questions
How do I photograph a handbag at home?
Stuff it with paper so it holds its shape, stand it on a table near a window and take a sharp phone photo from the front. Then use White background main image for the first photo and Accessory on a model for a worn shot.
What angles should handbag photos show?
Front, three-quarter, back, base, inside, a hardware close-up and the bag worn. Buyers judge size from the worn shot, so include one.
How do I show the size of a bag?
Use a worn shot on the shoulder or in a hand and give height, width, depth and strap drop in the listing.
What are good handbag photography ideas?
A sunlit ledge with leaf shadows, a bright hallway bench, a color podium for a bold campaign look, the bag on a model’s shoulder, and a gift scene in the holiday season.
Can I photograph backpacks and totes the same way?
Yes. Fill them so they stand, shoot the front first, then the angle. Backpacks also need a shot of the straps and back panel.
Should I edit wear out of a pre-owned bag?
No. For resale, use the Showcase shot scene, which cleans up the background and keeps scuffs and creases as they are, and photograph any damage up close.